“SOURDOUGH CLASS” #1 at King Arthur Flour Baking Education Center,

“SOURDOUGH CLASS” at King Arthur Flour Baking Education Center, April
18,2012
We are tree friends that try to manage bread baking process:
Brandon, Janice and I. We follow the “Bread Baking Challenge” from the apprentice
book of Peter Reinhart and learned a lot about breads.
The Bread Baker's Apprentice: Mastering the Art of Extraordinary Bread, by Peter Reinhart.
But Sourdough is a dough, that either one of us can’t
manipulate easily. I find this class, in Norwich, VT, at KING ARTHUR FLOUR
BAKING CENTER, $90.00, 2h and a half from Boston…. Brandon and I we went and we
love it every minutes of it!
We learn many things, about kneading, shaping, baking,
little details that we didn’t know about, with all our experiences baking bread
for the last 3 years!
We came home, late, tired but we had wonderful gifts: 2 perfectly baked sourdough boules, dough,
that we started from scratch, with “King Arthur Sourdough Starter”, in class,
and a little “sourdough starter” to feed and maintain, I hope, for a long time…in
my kitchen!

The class started with a little lecture about feeding and maintaining the STARTER. They don't recommend, freezing, but you can keep it in refrigerator and "feed" once a week. If you keep it on the counter, has to be "fed" every day, to maintain viable STARTER.
Here is how to create your own starter; in this class we didn't deal with this creation:
The recipe: (it
is done and we follow, by weight, not by volume)
1lb starter (=2 and 1/2 cups)
1lb and 5 oz. King Arthur UNBLEACHED, all-purpose flour (=5
and 1/4 cups)
3 oz. (=3/4 cup) King Arthur Whole Wheat flour
14 oz. (=1 and 3/4 cups) room temp water.
0.6 oz. (=2 and 1/2
teaspoon) salt
My Note: As you
can see no oil, no butter, no eggs, and no milk: water, flour, starter (very
little yeast).
My Note: Salt
should added only before you shape the loafs, not during the kneading process, it
interfere with crumb texture, not with the taste.
Our teacher, Amber, gave each of us the starter, from a big
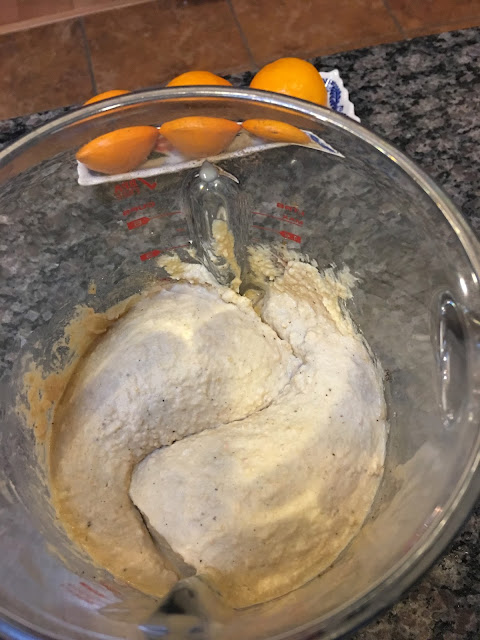
container and we start weighting the two flours and water.

WE had a small plastic card the she show us with, how to "knead", going around and around the metal bowl, adding some water from the measured dish.


At this time we covered the bowl with plastic wrap let it rest for 20 minutes.
My Note: Add the salt on top of the dough, before you put the plastic wrap, this way you make sure you will not forget to add, before you start kneading.


After the dough is formed in the bowl, we poor it on the table and start kneading. in a very special way. Amber showed us how to do it, in 2 different parts:
My Note: no oil, no flour, on the counter, the dough is sticky in the beginning, but will be nice and smooth, soon.
1. First you use the
scrapper and the plastic card to cut pieces of dough and trough them on top of
each other (don’t need to be gentle, she told us!)

2.You repeat this procedure 4 times.
3. You take the dough, by sides and s stretching long and slap it on top of it! You don't have to gentle, either!


My Note: you don't do this step too long, 4-6 times, until the dough is smooth and shiny.
4. When the dough is fully kneaded place it in the bowl,
cover with plastic wrap, and allow rising for 1-2 hours.

My Note: We can use the hook of a standing mixer, instead of manual kneading up to this point, 4-5 minutes, at a lower speed.
5. At the end of the rise period, turn the dough out onto
your counter and divided into two pieces.


6. First you press the dough down to distribute the gas even inside. Shape them into boules or batards and other shapes.

Amber makes a kaiser roll
7. A right way to make a boule, by stretching and make it round with both hands:
My Note: you put a little flour, if you need for your "hot" hands, but far away from the counter side were you shape the loaf.


A long string and very narrow, will be a perfect sourdough baguette.

8. Allow them to proof,
uncovered, for 1h and half, until they double in size.
9.. At the end of this period has to be very full and stretch
to your touching palm ( she said to a consistency of marsh mellow).

10. Just before you bake, you will score the loafs with a sharp razor blade or with scissors.


11. Baking at home oven: put
a cast iron pan (used only for this purpose) at the lower rack; add a pizza stone
on the higher rack.
Teacher’s note: If
you don’t have a pizza stone, you can use a cookie sheet instead, lined with parchment
paper to put the shaped bread loaf, to bake.
Start the oven temperature for 500F.
This way for almost half an hour, the pizza stone and cast iron pan will be very
hot, ready to transfer the loafs. Quickly, add the loafs to stones ( or add the
cookie sheet to the rack) and add HOT WATER to the cast iron pan, to steam.
Close the oven door, and lower the
temp to 450F for 35 minutes.

What a nice reward, what a wonderful brown baked loafs!
Teacher's note: the loafs should be dark brown, and sound hollow when knock on the base!


A lot of Thanks for Posting Unique Information, keep it up.
ReplyDeleteI am so glad you noticed this post, I need it almost one day to put together all my notes, pictures, ideas...It was a very informative class and all we eat all day long, was bread and butter, my favorite food!
ReplyDelete